Table of Contents
*This post may contain affiliate links. As an Amazon Associate we earn from qualifying purchases.

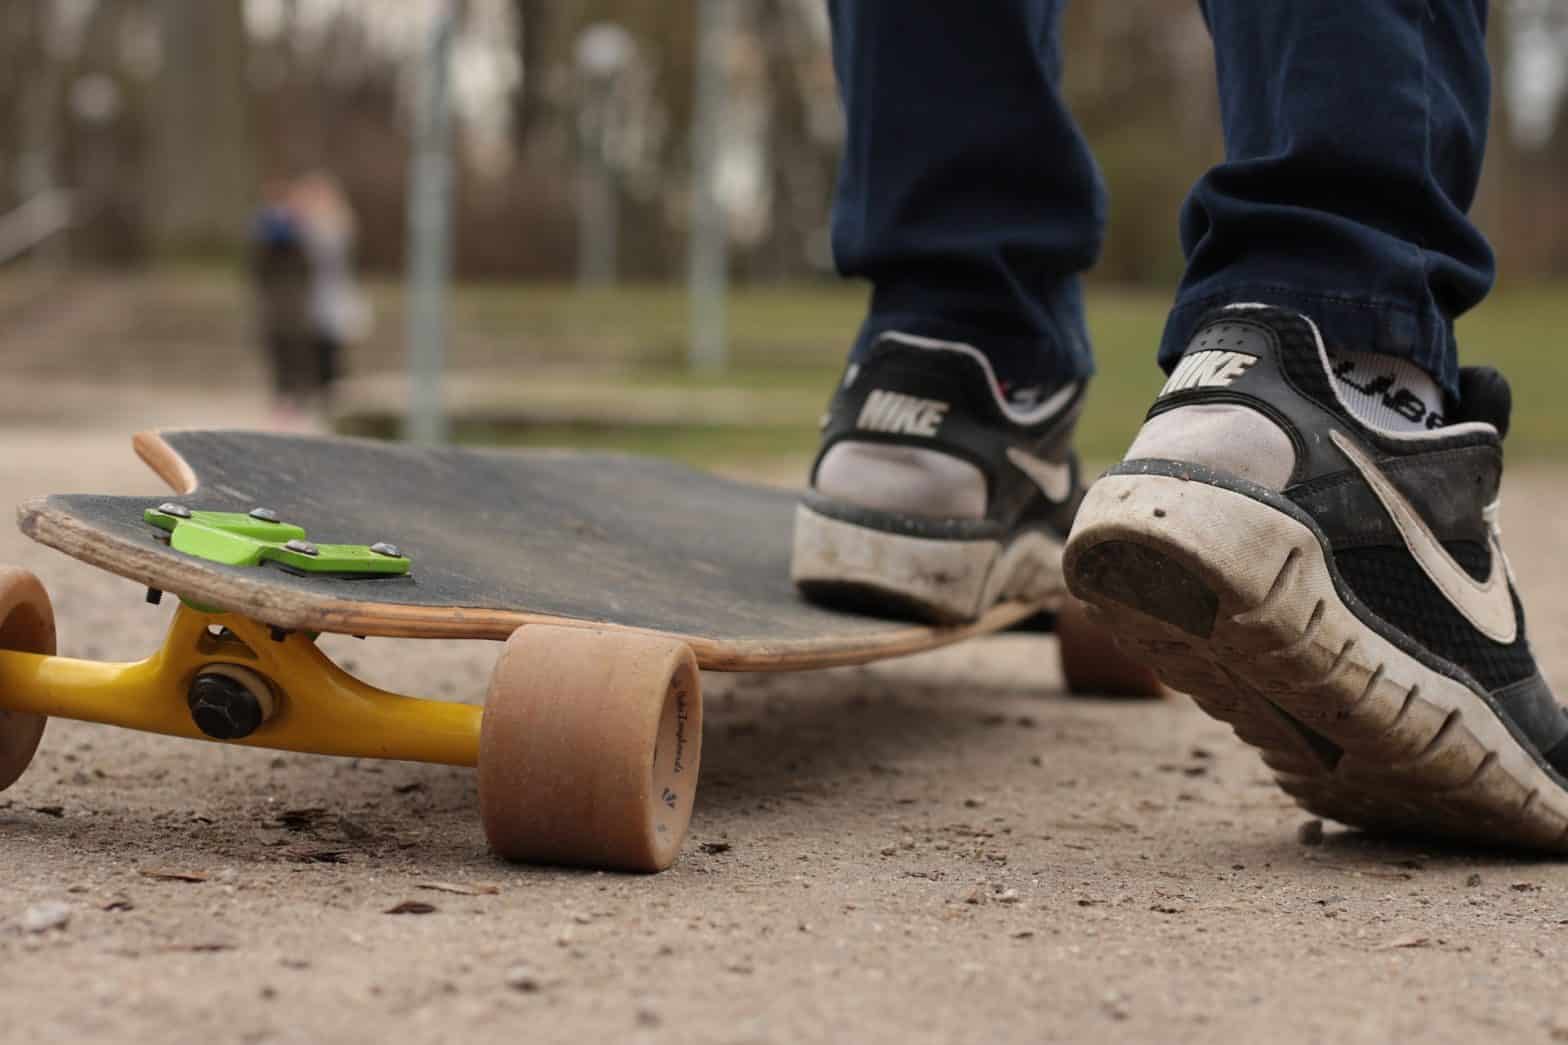
One of the hallmarks of skateboarding and longboarding is the Ollie. Boarders use this trick to jump without having the assistance of a rail or ramp. There is a difference between Ollieing on a skateboard versus a longboard. In essence, though, Ollieing is done by pressing down on the back foot on the tail of the board in order to push the deck off of the ground and into the air. It is important that the longboard has a sizeable tail to Ollie.
What Is an Ollie?
An Ollie is a skateboarding and longboarding jump in which the rider and board leap into the air. It is performed without the assistance of a ramp or the rider’s hands. It is done by pushing down on the back foot on the board’s tail, which raises the board off of the ground and into the air. It consists of popping, sliding, and jumping on the board at the same time.
Importance of the Ollie
The Ollie is known as one of the most—if not the absolute most—fundamental trick in skateboarding and longboarding. It is the first trick that many boarders learn. The Ollie can be done while stationary and while riding. It can be used to jump curbs and other objects, or just for fun.
7 Steps to a Longboard Ollie

The longboard Ollie, while simple in its being a fundamental trick, is not entirely easy to pull off. We’ve broken it down into seven steps in order to simplify the process that can appear daunting to some new skateboarders and longboarders.
Step One: the Jump
Begin by standing beside the board. You will use your back foot to begin the jump. Press down on the back foot. Then, lift your legs up into the air and jump. It is important that the back foot pops the longboard in the right way. Rather than stomping down on the board, simply jump. The trick is not to focus solely on pushing down on the board, as the Ollie is a jump.
Step Two: Pop the Board
Now, get on the longboard. Make sure to place your feet correctly. The back foot must be on the tail, and the front foot must be in the middle or closer to the longboard’s nose. Once the feet are placed, try to jump off your back foot in the same way that you did on the ground. Continue this step until you achieve mastery and are able to pop the board with consistency. Then, you can move onto step three.
Step Three: Getting Proper Air
Practice step three by standing on the longboard’s tail. Place your front foot next to the board’s nose. This will lift the board up after the initial pop. The sides of the feet will slide up. To reach maximum height on the longboard Ollie, lift up your back foot and rise the tail by pushing the nose forward. With practice, you will be able to maximize the height you wish to gain.
Step Four: Reaching Great Height
Continue to practice, as you will not gain the maximum height on your first few longboard Ollies. Practice will increase the height you gain. Pull your knees up to your chest when you Ollie because your board will only go as high as your feet. Bring your feet to their maximum height.
Step Five: Mid-Air
Once you are off the ground and in the air, the longboard should be parallel to the ground. On your way down, the front of the longboard must not be sticking up in the air. The board should be flat and leveled with the ground. This will assist you in jumping gaps.
Step Six: the Landing
You are in the air, and you must now land. Your knees will bend whenever you jump. To improve the landing, you should center your weight in the middle of the board and avoid leaning in any direction. Landing over the bolts will protect your longboard against potential damage.
Step Seven: Back on the Ground
The landing back on the ground is as important as the taking off and the jump. If you land your Ollie with both of your feet in the middle of the deck, your longboard will snap. If you land on the nose or tail, they can be damaged. To protect against this, keep your knees bent while landing. This will help absorb the shock of the landing.Following these steps will help you to perfect your longboard Ollie, from the start to the finish. They will safeguard against damage to the board and will help you achieve the air you wish to gain. Following the proper technicalities is the best way to ensure you learn your Ollie, practice it, and avoid damage to you or your longboard.
Tips on Perfecting the Craft

Learning the Ollie on a longboard is not an easy task. It can take months to perfect. It requires a lot of practice and training. Here are some tips on how to best prepare for and learn how to Ollie.
Training Exercises
A good way to prepare and train for learning and practicing the longboard Ollie is to practice kicking up your knee to your chest to get a good stretch. As you kick your knee up, extend your back leg up to a tiptoe position. It is also advisable to practice basketball layups off of your back leg as a training exercise.
Movement Breakdown
Start in a narrow tail stance, with your feet less than shoulder width apart. It might feel funny due to the large amount of nose in front of you, but it is in accordance with the longboard style of leaving room to go to the nose.
Next, crouch down to achieve spring for the jump. Put the back foot on the tail’s tip. Even let it hang off the edge slightly. This will help you achieve the most leverage. If the back foot is pointed at the nose slightly, it will be easier to drag the back foot up the board on the inside edge. This is important to the Ollie, so it is best to prepare for this part from the very start.
After this, start to rise into the jumping position. The jump’s power will be in your front leg. It is integral to actually jump before snapping down the longboard’s tail. With the right timing, you will be jumping, then snapping, then kicking. At this point, you should have already begun to roll your front foot onto its outside edge for friction. You can throw your arms up for better lift. By now, you will have little weight on the board.
From the rising jump, you can now extend your back leg while pushing the back foot into the tail. The tail will strike the ground loudly. At this point, the front foot is high in the air, so when you snap the tail, it’s already out of your way. Timing is key here because if you snap early, the board will bounce off your front foot and won’t get much vertical angle.
Here, your back leg should be extended down to the pointed toe, and the front foot should be dragged up to the nose quickly. Once you’re able to achieve a solid jump, a good snap, get the board into a vertical position, and maintained contact with your feet, you should be able to easily level the board while in the air. You’ll start by pushing the front foot down to counteract the back foot’s pushing up.
By flexing both feet and lifting up your toes, you will have a better chance of not losing contact. Finally, you will land, with your stance changed a bit. Your feet will be closer to the nose and wider apart than they were at the start. To absorb the landing, you will put your arms back down to maintain control and regain balance.
Conclusion

The longboard Ollie is, in essence, a jump on the longboard off of the back foot. It is executed through jumping off of the board from the back foot, causing the tail to bounce off of the ground and into the air. The slide of the front foot then levels out the board. All that is needed for this trick is a deck with a sizable tail.
Overall, the Ollie is simultaneously a simple and complicated trick. It is a fundamental skill for the longboarder to learn. It helps with jumping over curbs and other obstacles in your path such as objects, stairs, and patches of land, and it is also a celebrated pastime to longboarders and skateboarders alike. The Ollie can be done while stationary or while moving, and it is the first trick that many beginning skateboarders and longboarders learn.
Despite the fact that many beginners start their skateboard trick career by with the Ollie, it is not an easy skill to learn. It takes considerable practice and diligent practice of the steps we have detailed in this article.